I've always enjoyed anything Austrian, I'm fascinated by their history. I think it started with watching the 1955 movie
Sissi . I've been wanting to make a dirndl dress for while now, but I never really had anywhere to wear it too. This year I'm going to an Oktoberfest so I knew I had to make a dirndl. I wanted to make it as accurately as I could but you'd be surprised how hard it is to find a ton of information on making them. I eventually had to do google searches in german to find german blogs. I did find this
blog, and that link brings you to all her posts about sewing a dirndl and it was a great help with mine although mine is a little different style.
Dirndls can have some pretty crazy color and pattern combinations that you normally wouldn't put together but for a dirndl it somehow just works. I didn't want to go too crazy with color on my first one, just wanted to test it out so I ended up with a tan bodice ( the leib), a blue fabric with small pattern skirt ( the kittel), and a white fabric with small polka dots for the apron. Although I found a beautiful blue plaid silk I have that I'm thinking of making another apron out of, the white is very boring.
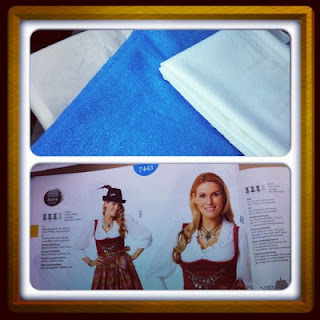
This pattern was Burda 7443 and I really liked it a lot. It takes a while to cut out of the pieces but it's pretty easy and goes together quickly. I really like the lines of bodice and how it fits. I'd like to make more that could work for everyday wear, so the ones that have a higher bodice. It's easy to line and the fit is flattering. I also just discovered I had a blind hem stitch foot for my machine and I got to do a blind hem on this! I can't believe I've never done a blind hem before! I usually hate hemming but this was easy and it looks great.
The apron was the last thing I did. While I really like the design of the apron, I'm not in love with mine. I didn't measure well and I wish it was a bit longer and I don't think the white looks as good as I thought it would. I actually also had trouble finding pleating tape so I ended up using this blue checked fabric I had on hand, which did work pretty well.
I'll post the finished picture of it after next weekend!
Doing all this research on dirndls has really inspired me. I love the fit and lines and would love to incorporate it into a jacket like the ones
Lena Hoschek designs-
But there's so many design options in dirndls and that's what I love about them. You can put piping in the seams which looks great, but there are also lots of trims you can make to put on them. I might still make some of this with blue fabric and add it to the top
This picture came from
here where she also shows you how to make this trim which is called
Froschmaulrüsche. This blog is all in german but it shows some great pictures of dirndls in construction.
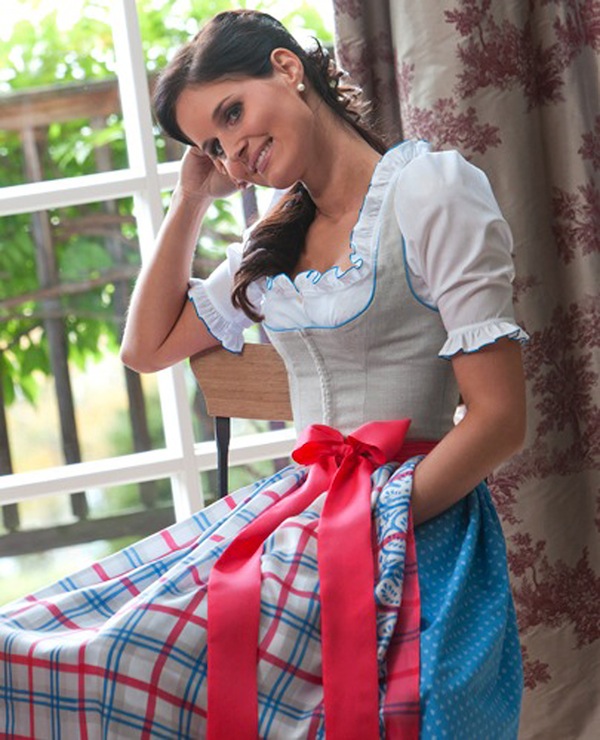
Another designer that I love is
Susanne Spatt. Her dirndls and other clothing are gorgeous!
This dress here is what inspired me for my dirndl color combination! But going through her collections, they are all so beautiful and inspiring.


 I finished up the corded petticoat yesterday! It's definitely not the best one out there.... but it works well enough. The hem is kinda pretty uneven also... but I tell myself it's okay and that the back can be a little bit longer than the front.
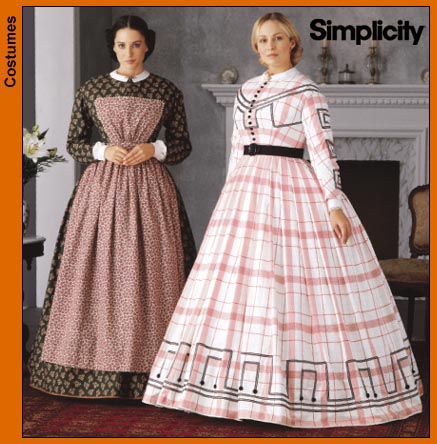
 I'm too old to wear short sleeves so I am going to do a basic coat sleeve. In my research it seems to be a common style for younger girls, but there's buttons in the back. I have seen some examples of older women with the gathered and yoked bodice but they were a little different. Anyways, I just turned 20 and people typically mistake me for much younger so I think with long sleeves and a front opening it will be fine. I love this style too much not to do it.